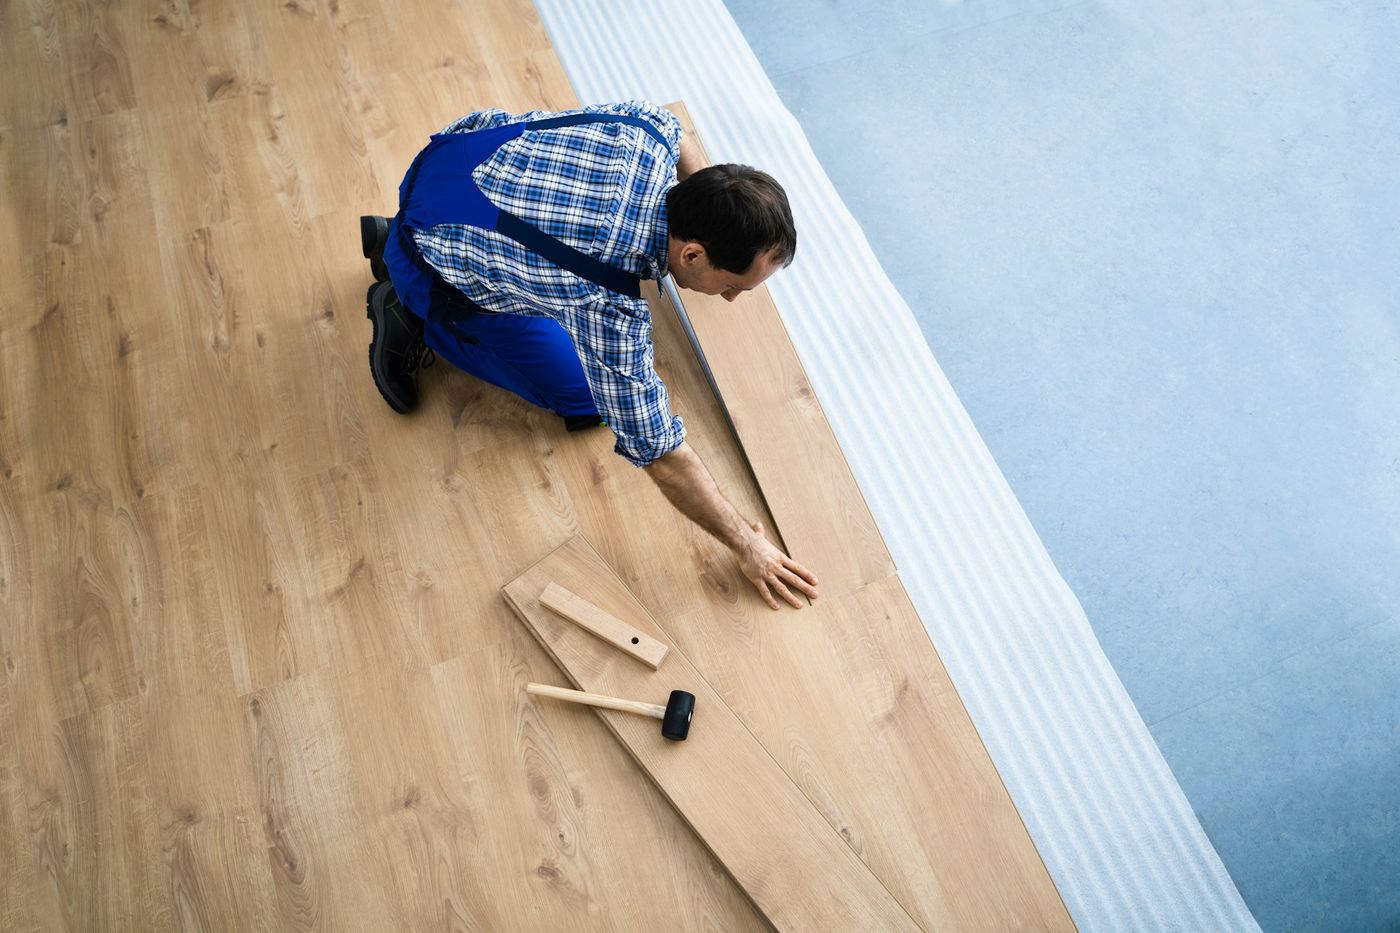
Getting ready to install new flooring is an exciting step in any home project. Before you pick colors and materials, you need to handle a crucial task: measuring your rooms. Measuring accurately ensures you order the right material and minimize waste. Good measurements mean fewer surprises and more confidence as you progress with your project.

Top Tips for Measuring Your Rooms for New Flooring
Understanding the Basics of Room Measurement
Measuring a room accurately is the first step in any flooring project. To start, you need the right tools. A measuring tape, preferably at least 25 feet long, is essential. Having a pencil and paper handy is useful for jotting down measurements quickly. Some people also like using a laser measure for larger spaces, which can provide more precise readings over long distances.
Key concepts include understanding terms like length, width, and area. Length is the longer side of the room, while width is the shorter side. You'll multiply these two numbers to get the area measured in square feet. Remember, precision is key here—rounding off measurements can lead to buying too much or too little flooring. It's also important to measure from wall to wall to ensure you include every bit of space.
When measuring, note any fixtures or built-in furniture that might impact your final calculation. These elements can affect how much material you need, so making a detailed sketch of the room and labeling each wall with measurements is wise. Being thorough at this stage can prevent headaches later.
Step-by-Step Guide for Accurate Measurements
Now that you’ve gathered your tools and know the basics, you can move on to measuring your space. For square or rectangular rooms, the process is straightforward. Begin by measuring the length of the room, wall to wall, and write down the number. Next, measure the width and note it down. Multiply these two numbers to get the total area. For instance, if the room is 15 feet long and 10 feet wide, the area is 150 square feet.
Not all rooms are perfect squares or rectangles, so handling oddly shaped spaces with care is crucial. Break the space into separate rectangles for rooms with alcoves or L-shaped sections. Measure each section separately and add the areas to get the total square footage. This method ensures no corner is missed and accurately estimates the flooring material needed.
Remember to measure any closets or additional spaces connected to the room. Your calculations should include these areas to ensure you have enough material. They can often be forgotten, but adding them to your measurements will give you a comprehensive total. With these steps, you can measure any room accurately, preparing you for the next phase of your flooring project.
Common Mistakes to Avoid
Avoiding common mistakes when measuring rooms for flooring can save you time and money. One frequent error is overlooking nooks and crannies. Rooms aren’t always perfect squares or rectangles; small corners or alcoves can affect total square footage. Always measure these areas carefully to ensure you purchase enough material.
Another mistake is misreading measurement units. It's easy to confuse feet with inches, leading to significant errors. Double-check your measurements and make sure all units are consistent. Convert measurements if necessary to suit the product specifications—most flooring materials are sold by the square foot.
People often forget to consider obstacles like radiators, built-in cabinets, or fireplaces. These features may alter the room’s usable space, affecting how much flooring you need. Plan for these obstacles by measuring them individually and subtracting their area from your total calculation.
Mistakes in measurement can lead to buying too much or too little material. Both outcomes can be costly, either in wasted materials or in delaying the project while waiting for extra supplies. Careful planning and double-checking your work can eliminate these problems, ensuring an accurate estimate and a smoother installation process.
Factoring in Additional Considerations
When measuring for flooring, factor in some essential additional considerations. Allowing for extra material is a smart move. Most experts recommend adding 5% to 10% to your measurements to account for cutting, waste, and future repairs. This buffer ensures you have enough material and can be handy if you need to replace a section later.
Consider the direction and patterns of your flooring. Certain patterns, like herringbone or diagonal tile layouts, require more material due to the angles and cuts involved. If you plan to use a specific pattern or direction for your flooring, discuss this with your installer so they can adjust the material calculation accordingly.
Consider transitions between different flooring types, especially in open-plan spaces. You’ll need extra materials like transition strips to create smooth shifts from one flooring type to another. These details contribute to the polish of the final installation but might require additional materials or precise measuring.
Lastly, check the manufacturer’s installation recommendations. Different materials have various expansion and contraction needs based on temperature and humidity. Be sure to incorporate these requirements into your planning to maintain flooring stability and longevity. Precision here will lead to a seamless installation and satisfaction with the finished product.
Conclusion
Measuring accurately for flooring is crucial for a successful home improvement project. You can ensure your flooring installation goes smoothly by recognizing and avoiding common measurement mistakes and considering additional factors like extra material and pattern direction. These steps save money in the long run and ensure your flooring fits perfectly, enhancing your home’s appearance and functionality.
Are you ready to take the first step toward new floors? Let Lemus Floors in Sioux City be your go-to expert. Whether you need help measuring or selecting the perfect material, our flooring installer team guides you every step of the way. Contact us today to start making your flooring dreams a reality!
