new flooring.jpg

How to Prepare a Room Before Installing New Floors

Preparing a room before installing new flooring is a crucial step that ensures a smooth and successful installation. Whether you're upgrading to hardwood, vinyl, or carpet, taking the time to prep correctly can save you from potential headaches down the road. A well-prepared room means fewer interruptions and a more efficient installation process.

First, clearing out the room is essential. Removing furniture, personal belongings, and any wall hangings creates a blank canvas for your new floor. This not only protects your items from damage but also provides ample space for the installation team to work efficiently. After the room is clear, it's important to inspect and prepare the subfloor. Check for any damage and ensure the subfloor is clean and that the level sets a strong foundation for your new flooring.

In this article, we'll walk you through the key steps to prepare your room for new flooring. From clearing out the room to checking the subfloor, gathering tools, and planning for installation day, we'll cover everything you need to know. By following these steps, you'll be well on your way to enjoying your beautiful new floors in no time.

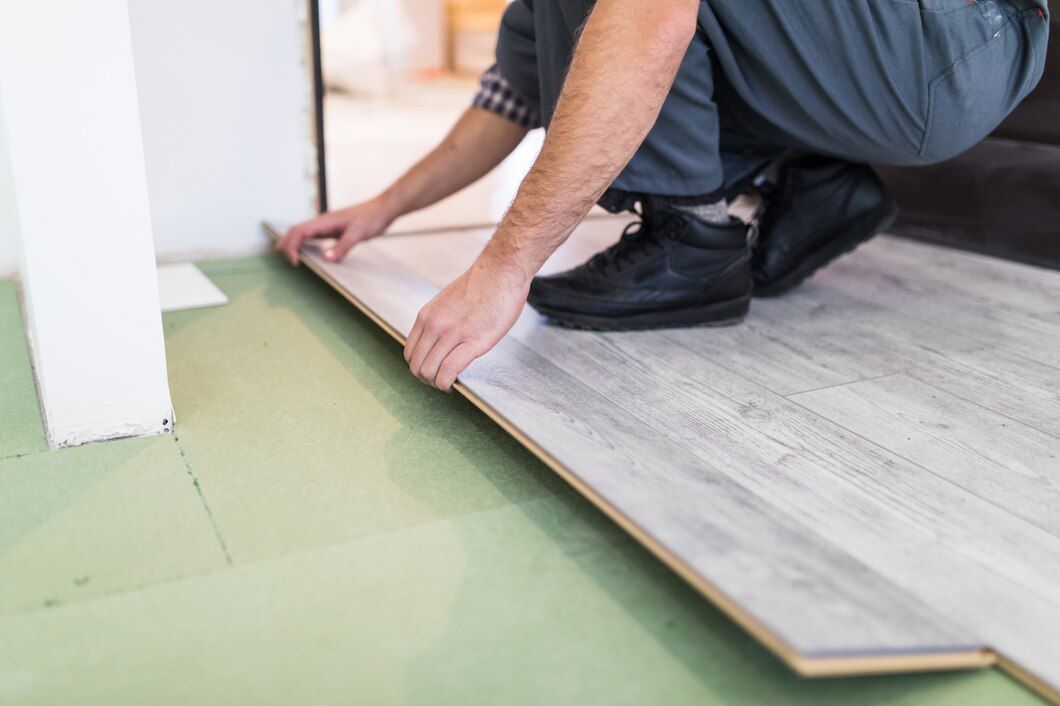
Clear the Room

Remove Furniture and Belongings

The first step in preparing a room for new flooring is to clear out all furniture and personal belongings. Start by removing large items like sofas, tables, and chairs. Make sure you have enough space to store these items temporarily, like in another room or garage. Clearing the room not only protects your furniture from any damage during the installation process but also gives the installers plenty of room to work.

Next, tackle smaller items. Don’t forget to empty bookshelves, desks, and cabinets. It's a good idea to pack these items in clearly labeled boxes to make moving them back easier. Removing everything from the room ensures that no items get in the way during the installation process.

Take Down Wall Hangings and Curtains

Once the room is free of furniture, take down any wall hangings and curtains. Pictures, mirrors, and clocks should be carefully removed and packed away. This prevents accidental damage and provides a blank canvas for your new flooring project. Removing curtains and blinds also ensures they don't get dirty or damaged during the installation.

Don’t forget to take down any decorative items on walls and windowsills. While it might seem like a small step, it makes a big difference in creating a fuss-free environment for the installation team. With all these items safely packed away, your room will be ready for the next steps.

Check the Subfloor

Inspect for Damage

Before installing new flooring, it's essential to inspect the subfloor for any damage. Look for signs of moisture, cracks, or uneven areas. These issues can affect how your new floor looks and performs. Address any problems you find before moving forward. If you're unsure about the condition of your subfloor, consider consulting a professional for a thorough inspection.

A damaged subfloor can lead to bigger problems down the road, like squeaky floors or even structural issues. Taking the time to inspect and repair any damage ensures a smooth installation and a longer lifespan for your new flooring. This proactive step helps avoid future headaches and keeps your floor looking and functioning at its best.

Clean and Level the Subfloor

After inspecting, it's time to clean and level the subfloor. Start by thoroughly sweeping and vacuuming the entire area to remove dirt, debris, and dust. A clean subfloor creates a solid foundation for your new flooring, ensuring proper adhesion and a smooth finish.

Next, check for any uneven areas. Use a leveling compound to fill in low spots and sand down high spots. This helps create a flat, even surface that’s ideal for installing new flooring. Taking the time to level the subfloor prevents issues like gaps or uneven wear in your new flooring, ensuring a seamless and professional-looking installation.

Gather the Necessary Tools and Materials

Essential Tools for Flooring Installation

Before diving into the flooring installation, gather all the tools you'll need. Here’s a handy list to ensure you have everything on hand:

1. Measuring Tape: Crucial for precise measurements.

2. Utility Knife: Helpful for cutting flooring material.

3. Pry Bar: Useful for removing old flooring.

4. Rubber Mallet: Needed to fit planks together without damage.

5. Flooring Nailer: Important if you're installing hardwood floors.

6. Level: Ensures your floor is even.

7. Chalk Line: Helps mark straight lines for installation.

8. Tape: For securing underlayment or vapor barriers.

Having these tools ready saves time and reduces stress on installation day. Double-check to make sure you have everything before you start.

Safety Gear and Precautions

Safety is key when working on any home project. Make sure to have the following safety gear:

1. Safety Glasses: Protect your eyes from dust and debris.

2. Gloves: Keep your hands safe from cuts and splinters.

3. Knee Pads: Essential for comfort when working on your knees for extended periods.

4. Dust Mask: Prevents inhaling dust particles.

In addition to gear, clear the work area of any tripping hazards, and ensure proper ventilation if you’re using adhesives or other chemicals. Following these precautions helps avoid accidents and ensures a safe working environment.

Prepare for Installation Day

Acclimate New Flooring

Acclimating your new flooring is a crucial step that can’t be skipped. This means letting the flooring material sit in the room where it will be installed for a few days. The purpose is to let the flooring adjust to the room’s temperature and humidity levels. For hardwood and laminate, aim for at least 48 to 72 hours of acclimation. This process helps prevent future issues like warping or gaps.

To acclimate, lay the boxes flat in the room and open them to allow air circulation. Make sure to keep the room at its usual temperature and humidity levels during this time. This small step ensures your new floors settle properly once installed.

Plan the Layout and Installation Steps

Planning the layout and installation steps ahead of time is crucial for a smooth and efficient process. Start by measuring the room and sketching a floor plan. Decide on the direction in which you want the flooring to run. For most rooms, running planks parallel to the longest wall looks best.

Next, figure out where you'll start and end the installation. This is especially important if you want to avoid having narrow planks on the walls. Planning helps you cut and fit the planks efficiently. Also, gather your family members or friends who will help you and brief them on what to do.

Final Thoughts

Preparing a room before installing new flooring involves several crucial steps. Clearing the room of furniture and wall hangings, inspecting and leveling the subfloor, and gathering all necessary tools ensure a smooth installation process. Safety precautions, including using appropriate gear and acclimating the new flooring, set the stage for a successful project. By following these steps, you'll create the perfect space for your new floors.

Ready to transform your home with new flooring? Contact Lemus Floors today to get expert advice and professional floor installation services. Let us help you make your flooring project a success from start to finish!